The first thing to be done is to prepare the fiberglass to accept the epoxy. This is done by sanding the interior of the hull with coarse sandpaper to remove the wax-like finish the molding resin leaves behind and to roughen the surface so the epoxy can get a good hold. The important thing to remember when working with an epoxy is surface area and pressure. The more surface area in physical contact, and the tighter those pieces fit together, the better the bond. For the next step, it is important to properly prepare the interior hull near the top edge, for this is where we are going to install the subdeck.
First you must decide whether you will make the subdeck in one or in many pieces. The subdeck is a 1/4" thick wood rim around the inside of the ship that helps it keep its shape, adds structural strength, and acts as the support for the main deck. 1/4" thickness is chosen because IR/CWCC construction rules limit the depth of the subdeck and deck to 3/8". Using 1/4" ply for the subdeck allows you to use 1/8" aircraft ply for the deck surface. For lateral strength from side to side, cross members are installed to keep the hull from expanding as it is fitted out with gear.
 The one piece subdeck has a structural advantage because it is easier to install and has no glue joints that can fail. Go to a store that can do large scale copying and have them copy the overhead section of the plans. With scissors cut along the outer deck-edge, then glue this to your piece of 1/4" plywood with white glue. Cut out the plywood along these lines, leaving extra along the edges; this will be removed as you fit it to the fiberglass hull. Draw a line at least 3/8" inside and parallel to the outer deck edge. Decide where you will want your lateral (side to side) supports and draw them. The lateral supports can be as small as 1/4" wide and you should only need four - one near the bow, two amidships and one near the stern. Use a drill with a 1/4" or larger bit to put holes in the corners. Cut between the holes and remove the extra material. (See Figure A) Test-fit the subdeck (remembering that the hull is bowed outward slightly and will need to be pulled in to get to the correct width) shaping the edge of the subdeck to get the most contact with the inside of the hull. Glue it into place with 24-hour epoxy using the methods I'll describe below. If you don't have a piece of 1/4" ply long enough, you can split the plans and cut the sub-deck out in two pieces and install as shown above. If you can't get large pieces of plywood at all, or have smaller pieces of solid 1/4" slats or planking, you can build the subdeck in pieces. This was the method I used and will describe for you now.
Using a band saw I stripped 1/4" x 1/4" strips of wood from some cedar slats. I clamped the strips one at a time to the inside top of the hull, sanding the ends so the butts had good contact with one another. At the bow and stern cut out and shape pieces of 1/4" wood to fit those areas. After ensuring all the pieces have a good fit remove them from the hull, keeping them in order. Mix some epoxy and begin to assemble the inner section of the subdeck, applying the epoxy and clamping each section (using regular spring or "A" clamps and/or large ball clips available at office supply stores) from bow to stern. Use two strips of wood for each section, one inside 1/4" strip epoxied to the hull, another 1/4" strip on the outside but not glued on, with the clamps/clips compressing both to distribute the clamp pressure evenly and give the hull smooth lines fore and aft. In the center a couple pieces of scrap plywood were screwed together to form a mold to allow the hull to set with the right width. (Photo 1) One-hand Quick-Grips (with wedge blocks and sand-paper at the jaws for traction were invaluable at the bow and stern to keep those sections in place. (Photo 2) The second layer of strips was installed later (Photo 3 and Photo 4) in the same manner as the first, with the lateral supports (Photo 5) cut from 3/8" wood, fitted, and installed first. Have the second layer of strips overlap the joints of the first layer for strength. Once the epoxy has set, cut out the excess wood at the bow and stern. (Photo 6) The completed subdeck is then covered with a layer of 24 hour epoxy to waterproof the wood. The result is an immensely strong hull frame with which to work. (Photo 7)
Figure A
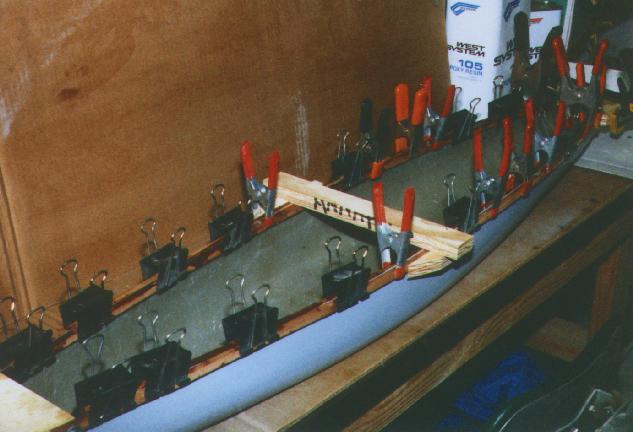 Photo 1
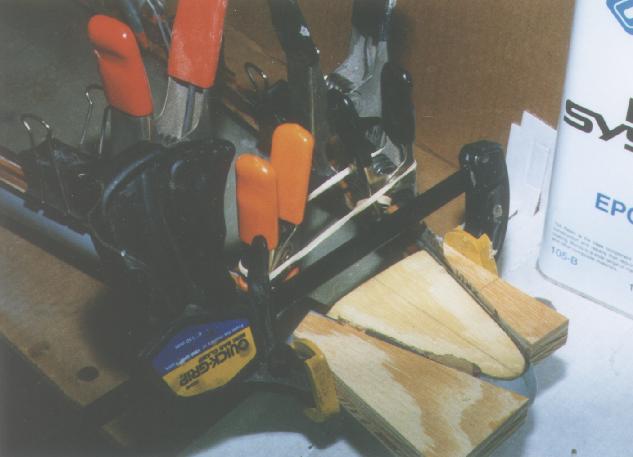 Photo 2
 Photo 3
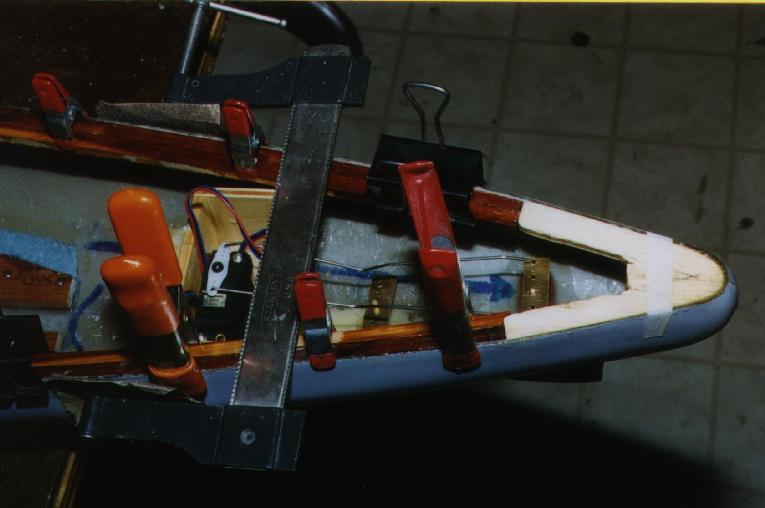 Photo 4)
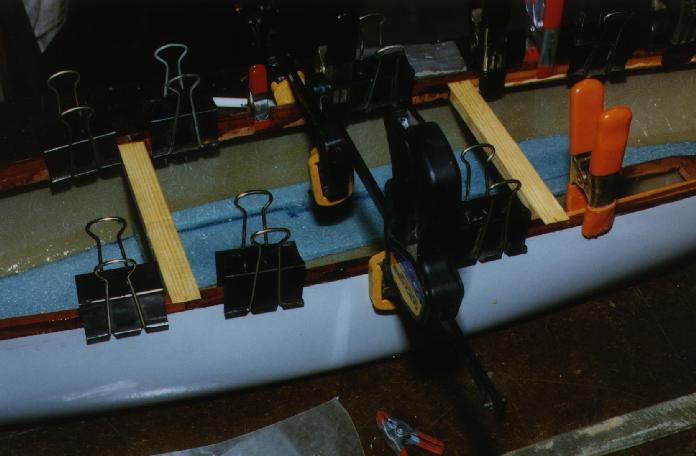 Photo 5
 Photo 6
 Photo 7
Next lets talk about the Bilge Pump.